
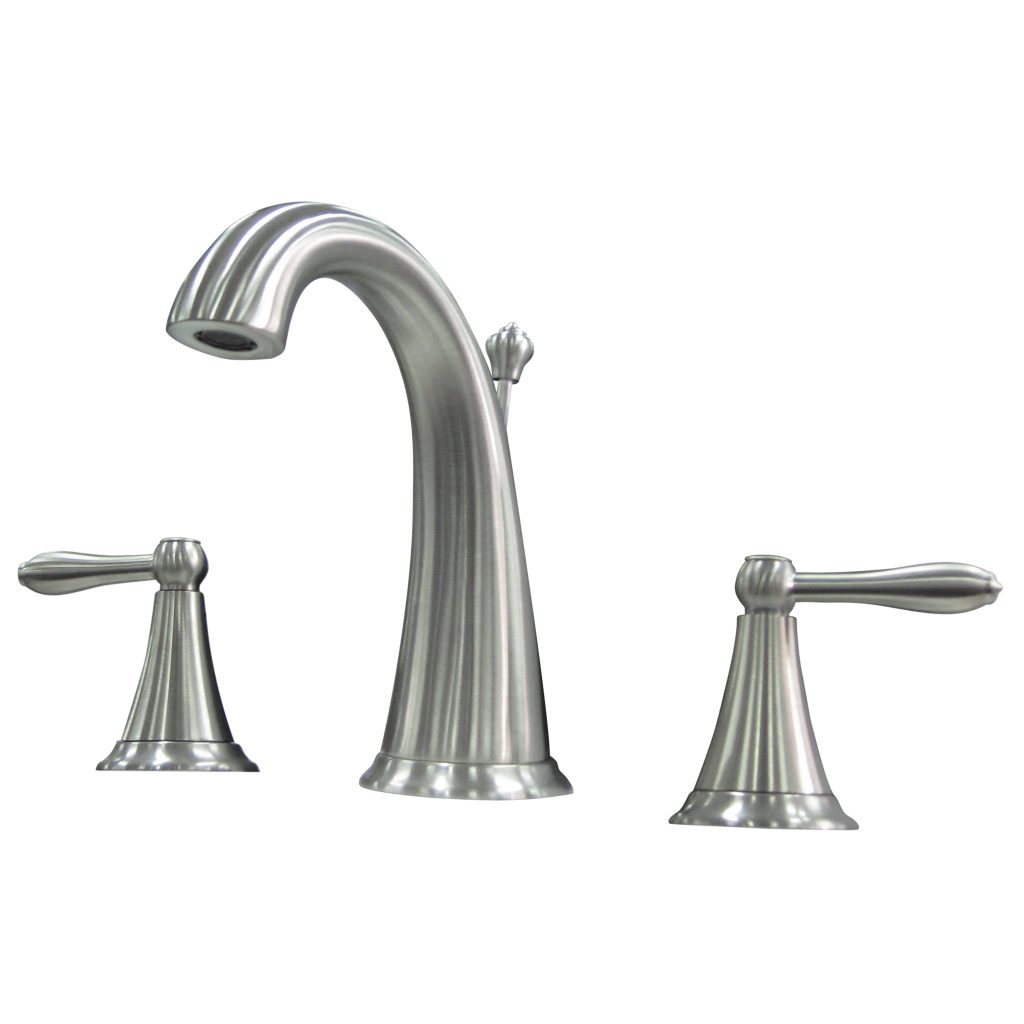
Replacing your bathroom faucet is an easy DIY project considering you have all the supplies that you need. You can all that from kitchenhomelet.com. If your bathroom faucet is more than ten years old, chances are it may be out of style, or the finish could be imperfect from years of use and cleaning. There are many more choices in faucets these days, from the style and size of the spout and handles to the wide array of modern finishes available. Although the standard chrome faucet may still be outselling all other finishes, satin nickel, brushed nickel, stainless steel, and oil-rubbed bronze are a few trendy finishes that can add character to your bathroom.
Removing the faucet can be the trickiest part of the task, seemingly more difficult the longer the faucet has been in place. First, turn the handle on the valves under the sink clockwise to shut the water off, if there are no supply valves, this may be a good time to consider installing them. Double-check that the water is off by turning the old faucet on, both hot and cold. If there is any running water, even a steady drip, the valve may not be completely off, and will leak water once the faucet is removed.
Next, remove both the hot and cold supply lines at the supply valve by turning the compression nuts counter-clockwise. You may want a bucket and towel with you as there will be water in the supply lines. Most faucets will have a plastic or metal locknut holding the faucet to the underside of the sink. Depending on the style of locknut, use a groove lock or adjustable pliers to remove them, freeing the faucet from the sink. Clean and remove any residue or old caulking from the sink. If the old faucet had a pop-up, remove that hardware as well.
Newer faucets require different installation methods. Some faucets have supply lines already attached, which would allow you to skip the next step. A faucet that requires you to install the supply lines will need Teflon tape to be applied to the threads. If the new faucet uses locknuts to secure the faucet to the sink, this will have to be applied once the faucet is mounted. If not, apply the Teflon tape to the threads and thread the supply lines on hand-tight.

Align the new faucet with the holes in the sink, and set the faucet in place. Use the hardware supplied with the faucet to secure the faucet to the sink, making sure it is parallel with the countertop and backsplash. If not already completed, apply Teflon tape to the threads of the faucet and install the supply lines. Next, install the bottom end of the supply line to the supply valve. Teflon tape is generally not needed here. Most bathroom faucets come with a pop-up. To replace this, loosen the locknut securing the old pop-up drain to the trap. Next, loosen the nut on the upper portion, releasing it from the sink. Install the new pop-up in the same fashion, and seal the top side of the drain to the sink with some silicone. Fasten the lever for the pop-up to the hardware that goes through the faucet.
Double-check all connections are tight and turn the supply valves on to check for leaks, Most leaks are typically caused by the nuts on the supply lines not being tight. Finally, turn the faucet on and check that the sprayer is functioning. The last step is to caulk around the faucet, to prevent water from running into the cabinet. Some manufacturers do not require this, as they have gaskets built-in to prevent it. If not, siliconized acrylic caulking works good, and is soap and water cleanup.