
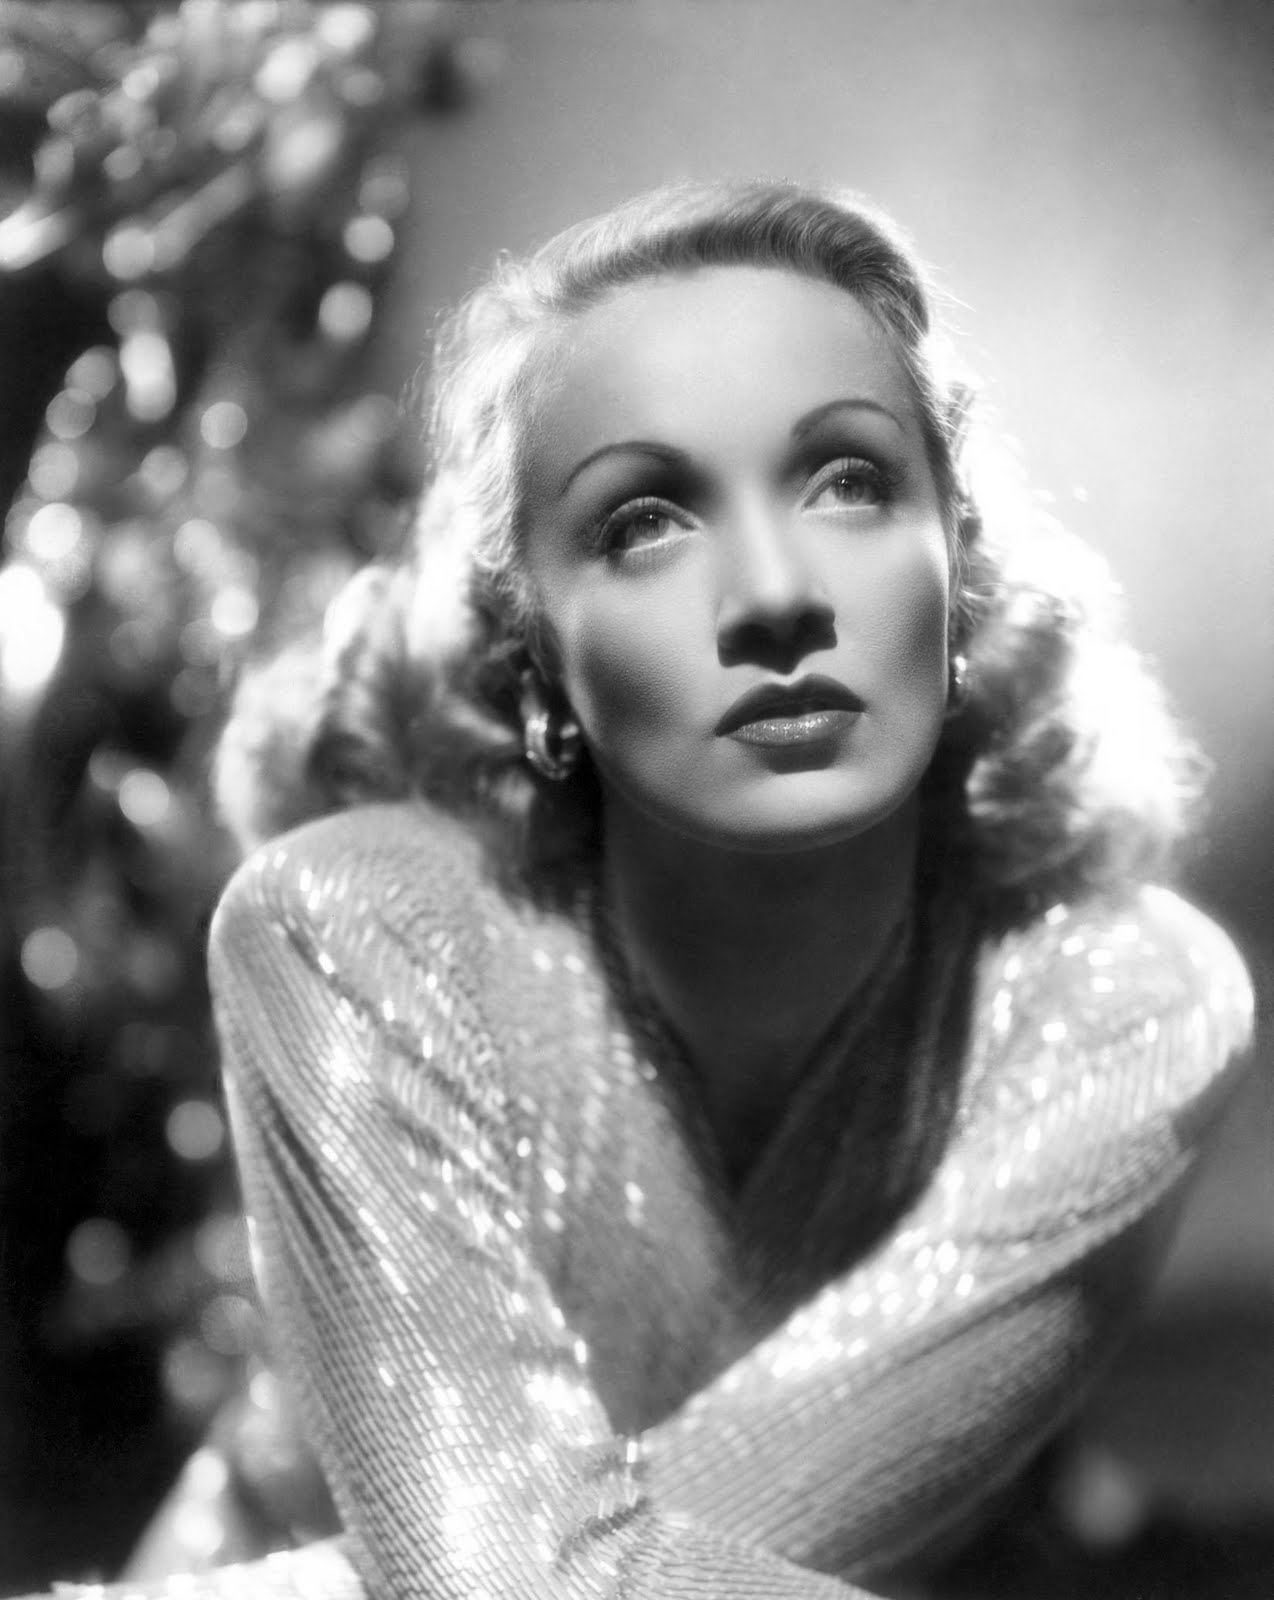
Butterfly lighting derives its name from the telltale shadow cast by the nose on the space above the lip. It is created by placing the main light in front of and above the face of the subject.
Butterfly lighting can be considered the missionary position of portrait lighting, because it is the easiest for novices to set up, has very little margin for error, and gets the job done with minimal studio equipment.
This is not to say, of course, that one cannot go wrong with it; but it has more latitude for error than Rembrandt lighting, short lighting, or broad lighting., all three of which place much emphasis on how the shadow plays on the face. Because shadow placement and manipulation are as indispensable as highlights in bringing out the shape and characteristic contour of a face, there is less to go wrong with lighting that basically reduces shadows to a minimum, particularly when this method is modified with a soft box or large umbrella. At this point, you may want to explore what the best lens for canon 80d is, so that you can capture this type of image perfectly.
True, side lighting is just as straightforward in execution and result-light the subject from one side and split the face-but properly it requires fill light or a reflector on the shadow side of the face, which complicates the task of the photographer. The option to leave half the face in shadow without a fill light, is more often seen in movie posters than in portraits, a cinematic effect done to convey mystery and drama.
Because diffused butterfly lighting is less prone to error than other types of lighting, it is the one most often resorted to by beginners, especially when pressed by family and friends to do their portraits. Be aware, though, that because the butterfly is still classified as frontal lighting, it has a tendency to flatten the face.
The basic setup of butterfly lighting is modified with a fill light or reflector directed at the lower part of the face, where the shadows are darkest. The most popular modification of the butterfly is called glamour or Hollywood lighting, because it is often used on actors and models.
How to set up for butterfly lighting:
Step 1
Place the key light along the same axis as the nose.
Step 2
Raise the light higher than the head of the subject and point it downward, watching the butterfly-shaped shadow below the nose. Too low and you don’t get a butterfly; too high and the shadow touches the upper lip, which should be avoided. Ideally, this shadow shouldn’t be longer than halfway between the nose and the upper lip.
Step 3
Lighten the shadows either with a lower-output light placed in the same axis as the main light, but at face level, or with a reflector card placed in front of and below the subjects face. This placement of a reflector is called a kick-up reflector.
Step 4
It can be misleading and downright wrong to simply say, place the main light beside the camera facing the subject, because if the subject is asked to turn for a three-quarters pose the butterfly shadow will be lost. For such a three-quarters pose, the main light should be at three-quarters as well, following the nose axis.
You may also like
-
Why Should You Choose Briketi Poisid For Buying Briquettes?
-
Facebooks Mark Zuckerberg Interested Bitcoin – Know about it
-
Here Are The Top 4 Benefits of Video Marketing For Small Businesses
-
High Impact Website Conversion Strategies
-
One Can Opt For Laser Hair Removal Treatment At Home? In What Way Is It Possible?